
A new wireless router should be easy to set up, but occasionally even minor setup procedures can be confusing. This article will help you through every step of connect tenda router to wifi, whether it’s your first time or you’re troubleshooting connection issues.
Although Tenda routers are renowned for their speedy setup, customers occasionally encounter problems like Tenda router failed to connect wifi errors or Tenda router cannot connect to wifi. You can prevent these annoying situations and have your network up and running quickly by knowing the proper configuration procedures.
This blog will explain how to connect your router, what to do if it doesn’t connect, and how to expand your current network by using a Tenda router as an access point. Now let’s begin.
The Significance of Correct Setup
Your devices may encounter sluggish speeds, erratic internet, or total failure to connect if the settings are incorrect. The finest performance and network dependability are guaranteed when you follow the proper Tenda router wifi setup instructions.
What You’ll Need Before Starting
Make sure you have the following before connect tenda router to wifi:
- A functional Internet connection (provided by your ISP)
- The power adapter and Tenda router
- The majority of Tenda devices come with an Ethernet cable.
- Your ISP login information (only required for PPPoE connections)
- Using a computer or smartphone to view the router interface
How to Connect Tenda Router to WiFi Step-by-Step
1. Activate the Tenda router.
Once the router is connected to a power source, keep an eye out for the indicator lights to turn on. WAN, WiFi, and power lights are features found on most Tenda routers. At this point, a steady or blinking WiFi light is typical.
2. Attach the modem to your router.
- Connect modem to router WAN port, which is often blue, using an Ethernet.
- Before connecting in the Tenda router, unhook the old router if you’re replacing it.
3. Establish a connection to the Tenda WiFi network
On your PC or smartphone:
- Go to the WiFi configuration.
- Look for a network with Tenda_XXXXXX at the beginning.
- Use the default password shown on the router label to establish a connection.
- Proceed to configuration after connecting.
4. Go to the Admin Page of the Tenda Router
- Launch a web browser and type:
- 192.168.0.1 or http://tendawifi.com
- The Tenda setup wizard should now appear.
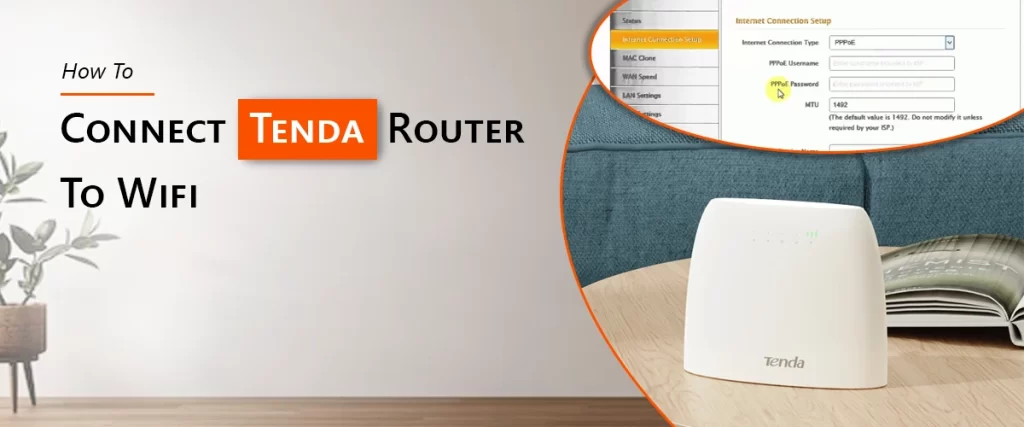
5. Set Up Internet Preferences
Your internet type will be automatically identified by Tenda. Choose the appropriate one if it doesn’t:
- The most popular is DHCP (Dynamic IP).
- ISP login credentials are needed for PPPoE.
- Some corporate ISPs provide static IP.
- After entering the necessary data, click Next.
6. Make a password and WiFi name.
- Create a special WiFi name (SSID) and a strong password.
- This improves your network’s visibility and security.
- To apply the adjustments, click Save.
- You can reconnect using your new WiFi name once your router has rebooted.
Troubleshooting: The Tenda router is unable to establish a WiFi connection
Incorrect setting or signal problems might be the cause of the Tenda router’s “cannot connect to wifi” error messages. Try these solutions:
1. Examine ports and cables
- Ensure that the Ethernet cable is securely connected to the router’s WAN port.
2. Restart the modem and router.
Turn both devices on and off:
- Switch off the router and modem.
- Hold off for thirty seconds.
- Switch them back on.
- This fixes a lot of transient network issues.
3. Verify Internet Type
- Enter your ISP username and password again if you’re using PPPoE. tenda router cannot connect to wifi due to incorrect credentials.
4. Return the router to its original configuration.
- Hold down the Reset switch.
- Next, carry out the setup procedures once more.
Tenda router use as an access point (optional)
If you currently have a primary router and would like better WiFi coverage, you may set up a Tenda router as access point.
Procedure:
- To connect the Tenda router to your main router, use a LAN-to-LAN connection.
- Go to the admin page of Tenda.
- Navigate to Internet Settings.
- Change the mode of operation from router mode to access point mode.
- Restart after saving.
- Instead of building a new network, your Tenda router will instead expand the current WiFi.
Concluding Remarks
Once you grasp the fundamental setup procedures, connect tenda router to wifi is simple. Whether you’re installing a new device or fixing connection issues like Tenda router cannot connect to wifi or Tenda router failed to connect wifi, the previously described strategies can help you restore dependable communication.
If you want greater coverage across your home or place of business, consider using your Tenda router as an access point. Don’t forget to thoroughly complete the Tenda wifi router setup to avoid configuration errors.
FAQs-
Why is my Tenda router WiFi signal weak even after connection?
A weak signal is usually caused by distance, thick walls, interference, or incorrect installation. Move the router to the center, lift it, clear obstructions, or switch channels to improve coverage.
What is WISP mode on a Tenda router?
Your Tenda router may receive and rebroadcast wireless internet from another WiFi source while it is in WISP mode. It serves as a wireless repeater to improve network availability in locations without wired connectivity.
There is no internet even if my router is linked to WiFi. How can I make it right?
Restarting the router and modem, checking WAN connections, verifying ISP status, ensuring PPPoE data are correct, and running diagnostics under the Tenda settings are all ways to restore internet even with WiFi connectivity.
How can I use the app to automatically setup WiFi on my Tenda router?
Install the Tenda WiFi app, connect to the router’s default network, choose “Smart Setup,” complete the WiFi credentials and internet type instructions, and let the program to finish establishing itself in a few minutes.